Hydroponic Microgreens: Quick Guide
Table Of Content
Soilless cultivation, particularly the hydroponic growth of microgreens, combines scientific precision with careful technique. Over recent years, it has gained popularity as an efficient, sustainable method for growing nutrient-rich greens in controlled environments. While the process offers many benefits—faster growth cycles, space efficiency, and fewer pests—it also comes with a learning curve. Mistakes are common in the early stages, but they often serve as valuable opportunities to refine techniques and deepen understanding.
This article provides a clear guide to hydroponic microgreen cultivation, drawing on proven practices and insights from hands-on experience.

What Are Hydroponic Microgreens?
Hydroponic microgreens are young vegetable or herb seedlings grown without soil, typically harvested within 7 to 21 days of germination—just after the first true leaves emerge. Instead of soil, these microgreens are cultivated using a hydroponic system, which delivers water and essential nutrients directly to the plant roots through an inert growing medium like coco coir, rockwool, or grow mats.
Microgreens are known for their intense flavors, vibrant colors, and high nutritional value. When grown hydroponically, they benefit from controlled environmental conditions, which allow for year-round production, faster growth cycles, and minimal water usage compared to traditional farming.
This method is particularly popular in urban agriculture, small-scale commercial operations, and home gardening setups due to its space efficiency and cleanliness. Hydroponic microgreens are used widely in gourmet dishes, smoothies, salads, and health-conscious diets, offering both aesthetic appeal and a dense concentration of vitamins, minerals, and antioxidants.
Seed Preparation & Choice
High-quality seeds of hydroponic microgreens dictate a great yield. I learned that using selected seeds is of primary importance. I used bargain-bin seeds a friend purchased for a bargain, and their germination was disappointing. I over-soaked the seeds in my initial experiments, reasoning that more water would quicken the process.
I once got a soggy mess that took a day and a half to germinate. Take the advice of the supplier to heart. Some varieties prefer a short soak in lukewarm water, and some need a light wash to get rid of surface inhibitors. I soak using a timer and a kitchen thermometer, and this has prevented a great many troubles. Once soaked, spread the seeds evenly in a pan. Clumping results in unbalanced growth and fungal troubles, as I learned when one pan was moldy owing to overpopulation.
Choose the Correct Hydroponic System for Microgreens
There are lots of hydroponic systems, yet these are suitable for microgreens. Check them and find the most suitable one for your microgreens.
Shallow Tray Systems (with Growing Mats)
Shallow trays lined with a thin, porous mat are among the simplest ways to grow microgreens hydroponically. In this setup, seeds are spread onto mats made from materials like hemp fiber, coconut coir, or paper-based substrates, and the mats draw nutrient solution from beneath. Because microgreens develop shallow root systems and are harvested quickly, they thrive with consistent moisture from these mats.
In my own trials—both at home and in small-scale test environments—I found that hemp mats drain effectively and maintain a clean environment, reducing the likelihood of mold in dense microgreen plantings.
Ebb and Flow (Flood and Drain)
Ebb and flow systems periodically flood trays of microgreens with nutrient solution before draining the water back into a reservoir, promoting both hydration and aeration. As the solution recedes, roots have time to “breathe,” which supports uniform and robust growth. During a commercial pilot project for a local café, I used an ebb and flow setup and appreciated how the automated cycle helped avoid issues like uneven watering or excessive manual labor. Even when operating multiple trays, the process remained remarkably consistent.
Wick System
The wick system relies on a continuous supply of moisture drawn up by one or more wicks from a nutrient reservoir into the growing medium or mat. This gentle but steady delivery of nutrients does not require an electric pump, making it well-suited for small or low-maintenance setups.
I first tried the wick system in a tight indoor space and found that managing wick thickness was critical. Once I adjusted the wick to match the water needs of my microgreens, they grew evenly without the risk of the medium becoming waterlogged.
Nutrient Film Technique (NFT)
NFT involves a shallow stream of nutrient solution flowing through a slightly tilted channel, so the base of each plant’s root system is gently bathed while remaining exposed to air. For microgreens, a mat or net pot insert is often used to keep seeds in place, especially during germination.
While running test channels for a community workshop, I realized it’s crucial to calibrate the flow rate carefully; too strong a current can dislodge delicate young seedlings. When managed correctly, NFT provides a continuous supply of water, nutrients, and oxygen, which can lead to uniform, healthy growth.
Nutrient Control & Environmental Control
Optimal growth of hydroponic microgreens depends on using a nutrient solution specifically formulated for soilless systems. General-purpose liquid fertilizers often result in weak, spindly growth and yellowing leaves. Microgreens require a balanced ratio of macronutrients and micronutrients tailored to their rapid growth cycle. After testing various formulations, products designed for hydroponics consistently delivered better flavor, texture, and yield.
Monitoring the pH of the nutrient solution is just as important. The ideal range is between 5.5 and 6.5. In early experiments, infrequent pH checks led to imbalances that clearly impacted growth quality. Now, testing the solution every three to four days using a mid-range pH kit has become a routine part of the process. Even minor pH shifts can stress the plants and reduce nutrient uptake.
Environmental factors often matter more than fertilizer. Maintaining a stable temperature between 65°F and 75°F (18°C–24°C) is critical. A missed adjustment during a hot summer night once led to wilted trays by morning—an avoidable error. Since then, constant mild air circulation and humidity control using a small desktop fan have successfully prevented mold and mildew, even during more humid seasons.
Growth Monitoring & Harvest Timing
Observation plays a crucial role in successful hydroponic microgreen cultivation. Regular monitoring of trays is essential—paying attention to details such as leaf color, firmness, and uniform growth can indicate overall plant health. Delaying harvest in hopes of stronger growth often leads to undesirable results, such as bitter flavor or an over-mature texture. It is generally recommended to harvest microgreens when the first true leaves begin to appear, which is a key indicator of optimal freshness and nutrition.
Using sharp, sterilized shears to harvest just above the growing medium helps ensure clean cuts and maintains the quality of the leaves. Dull or unclean tools can damage delicate greens and increase the risk of contamination. Sanitizing equipment between harvests is a best practice to prevent the spread of disease.
Additionally, close inspection of the trays allows for early detection of issues—such as abnormal coloration or stunted growth—enabling timely adjustments to lighting or nutrient levels. Prompt intervention is often the difference between a successful crop and a compromised one.
Post-Harvest Handling and Lessons to Self
Post-harvest handling plays a crucial role in preserving the flavor, texture, and nutritional value of hydroponic microgreens. Rinsing the harvested greens briefly in cold water and gently blotting them dry with a paper towel effectively removes surface impurities without compromising their quality. Excessive soaking, especially in the early stages of learning, has been known to reduce shelf life and diminish flavor—highlighting the importance of gentle, efficient cleaning practices.
Proper storage is equally essential. Freshly harvested microgreens should be kept in containers that are both breathable and airtight—ideally lined with a dry paper towel to absorb excess moisture. Neglecting this step, even once, can result in spoilage due to trapped humidity. Maintaining the right storage environment significantly extends freshness, often keeping microgreens crisp and vibrant for several days in refrigeration.
This process, from harvest to storage, requires a balance of precision and intuition. Mistakes such as delayed action, overwatering, or improper handling are part of the learning curve, but each misstep provides valuable insight. Over time, successful growers develop a rhythm—a combination of careful monitoring and adaptive decision-making—that leads to consistent, high-quality results.
I hope that these tips equip you with knowledge to get you going. With careful planning, continued learning, and a willingness to endure mistakes, you can build a luscious harvest of abundant rewards.
FAQs
What are novice gardeners’ most prevalent mistakes?
Novice gardeners overwater seeds or ignore pH levels, causing slowed germination or poor growth.
When do you harvest?
Watch for the first set of true leaves; waiting too long yields bitterness and loss of freshness.
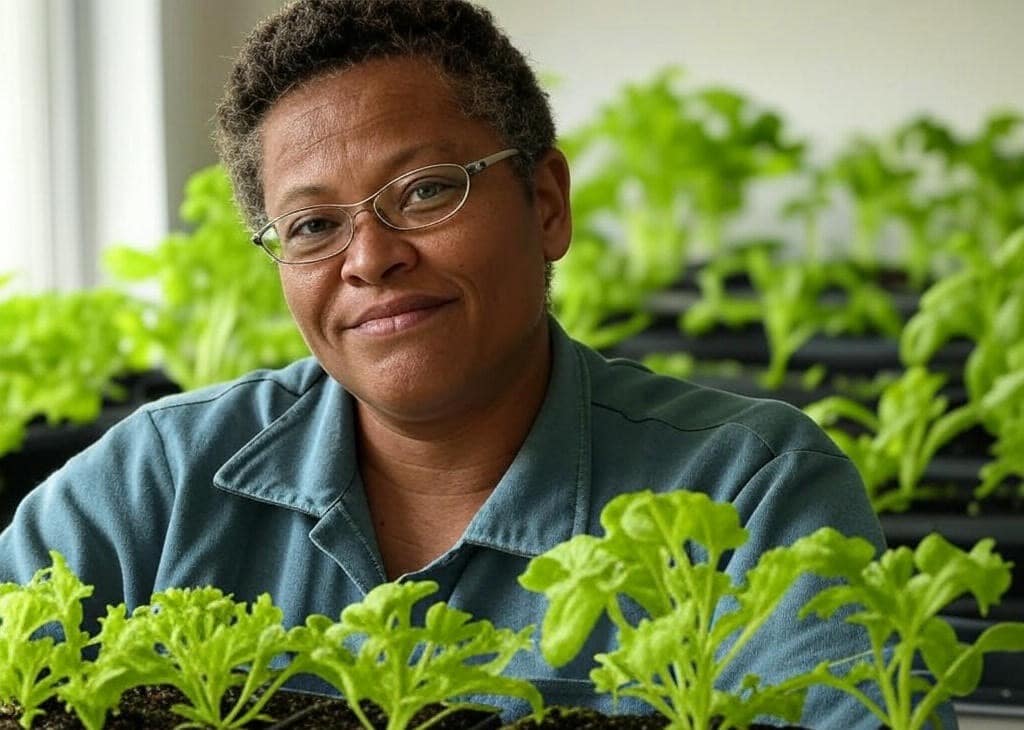
Table Of Content